How To Manage and Order Business Cards For Your Teams

- Create a Master Design (AKA the template)
- Upload Your Master Design to a Centralized Ordering Solution
- Alter the Master Design for Each Employee
- Your Easy 3-Step Process for Managing and Ordering Team Business Cards
Today, more than ever before, consumers are craving deeper connections with the people they buy from, which means businesses are designing their collateral with that in mind.
This is particularly true for team business card design.
It’s important that your staff have access to consistent marketing materials that are inline with your brand, but it’s also important for them to have their own individual assets in order to forge deeper connections with their clients and customers.

In the past, it was easy enough to put through one bulk order of team business cards and sit back and relax until they arrived.
But, if you’re managing and ordering individual business cards for different team members, the whole process becomes slightly more difficult. The concerns around managing and ordering a single set of business cards are different from ordering for an entire team.
Without further ado, here’s how you can make it easier to order team business cards.
Step One: Create a Master Design
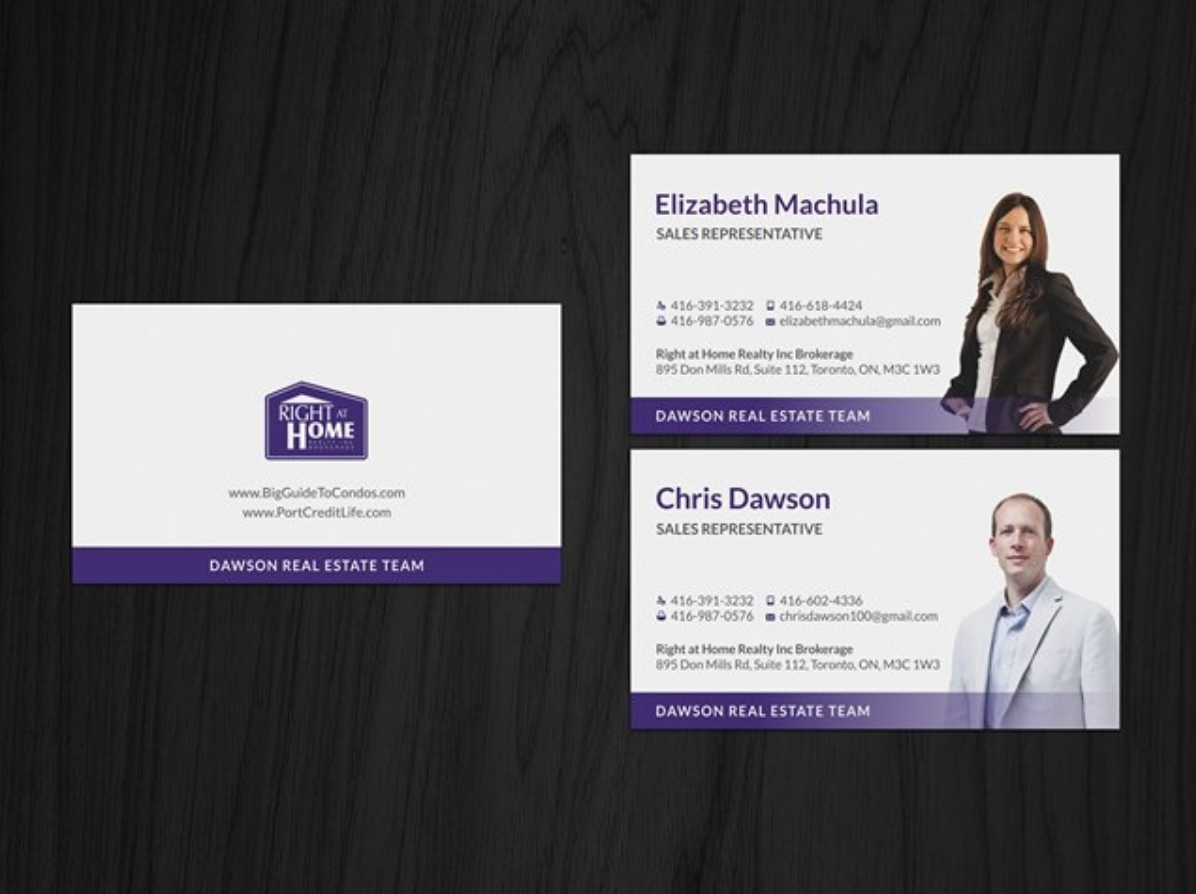
Creating a master design means all the individual business cards will have the same vibe and look but will feature different information.
This means you can represent your brand with its colors, fonts, and messaging and avoid having every single business card look different. Do this, and you run the risk of presenting an inconsistent vision of your brand - not a good look, particularly when you consider how many other business cards the recipient might be getting at conferences, meetings, and networking events.

Your master design needs to contain a few key things:
- Your brand colors - your brand colors are one of the first things people will notice about your business. Keeping your business cards in line with those colors will help make them recognizable and will ensure they work as an extension of your other marketing materials.
- Your logo - again, having your logo on every business card regardless of what team they are for will help keep your brand looking consistent. You want people to look at any business card from any member of your team and instantly know that they’re a part of your business.
- Your fonts - just like your brand colors should be kept consistent, so too should your fonts. If there’s a font you always use to write your tagline in, make sure it’s the same on every business card to maintain a sense of consistency.
- Key information - the details of each member of your team will change on each business card, but the key information about your business should be kept the same. We’re talking things like your website URL, Twitter handle, and anything else that’s not individual email addresses and phone numbers.
Creating your master design is the first and most difficult step in the process. Once you’ve got that covered, the next steps in the process become much, much easier.

Step Two: Upload Your Master Design to a Centralized Ordering Solution Central System
Having your master design is no good if it can’t easily be accessed or used.
Use a portal like Brandly to upload your master design and be able to use it by any team member to order their cards as needed.
This will help you streamline the process, as you’re essentially cutting out the first - and most difficult - step (the design process). Once your design is uploaded, you can allow everyone in your organization to access it or you can limit access to specific individuals if you wish.
Alternatively, you can just provide access to one key administrator who can act as a kind of gatekeeper in the ordering workflow.
The method you choose will depend entirely on your business, how many team business cards you need creating, and whether you want individual members to order their own cards or want to have someone to look over the designs before they are ordered.

Step Three: Alter the Master Design for Each Employee
Once your master design has been uploaded into your Brandly account, it’s a simple process to change the information on each card to fit individual members of your team.
You simply click on the master design to bring it up into the dashboard and edit the text field on the visual editor before either sending it for submission or getting your employees to order it straight away.
The information you might want to change on each card includes:
- Team member names
- Team member email addresses
- Team member phone numbers
- Team member job titles
- Specific URLs for different departments if you want recipients to go to a specific website page
The great thing about Brandly is that, when a card has been ordered, it is automatically saved in your account for easy reordering the next time. This means that when your employees run out of cards, they can simply click to order more of the same.

Your Easy 3-Step Process for Managing and Ordering Team Business Cards
The thought of creating individual business cards for every single member of your team can be incredibly overwhelming.
But, when you break it down into these three simple steps, it doesn’t seem so hard.
Start by creating a master design that incorporates your overall company branding with key elements like your logo, brand colors, and fonts. From there, you can upload the master design into the Brandly portal and grant access to certain team members (or all team members, if you want). It’s simply the best way to order business cards for multiple employees.
It’s then really easy to change up individual details like email addresses, job titles, and phone numbers to give each member of staff their own personal business card.
Managing and ordering team business cards doesn’t have to be a chore. In fact, once you’ve got your master design up and running, it’s actually a walk in the park.
Open a free account now and start ordering business cards the easiest way online with Brandly.